Controls
There are 3 ways to control VMPC2000XL:
Keyboard
Mouse/touchpad/touchscreen
MIDI
It is strongly recommended to get familiar with basic keyboard shortcuts rather than relying on the mouse. The more keyboard shortcuts you use, likely the greater the sense of immersion.
Keyboard
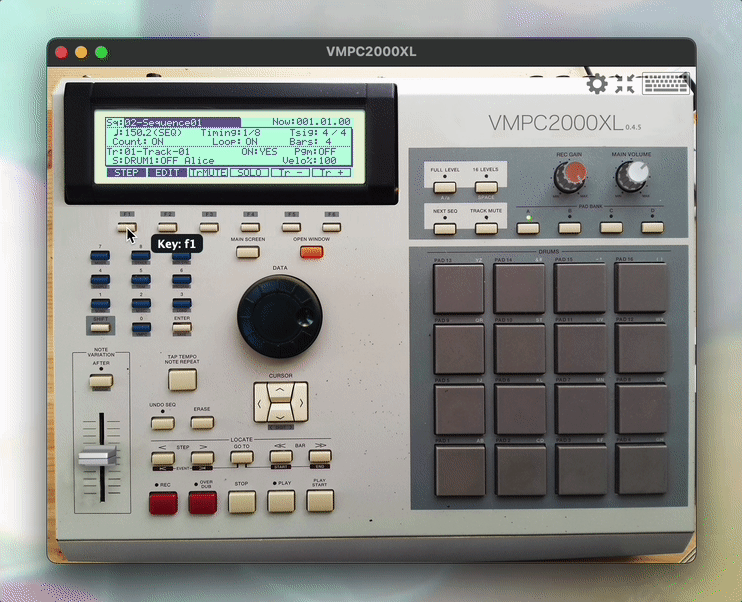
For most controls you can display a tooltip that shows you which key on the keyboard is associated with it. In the case of the DATA wheel it’s 2 keys – one for clockwise and one for anti-clockwise.
To display all controls’ keys, hover over the keyboard icon in the bottom-right menu, or, if you’re on iPadOS, you can press the keyboard icon (and release your finger somewhere else if you don’t want to go the KEYBRD screen).
To display just a single control’s key in a tooltip, on systems with a mouse, hover over the control while holding one of the following keys on your keyboard: Shift, Ctrl, Alt/Option, Cmd/Windows/Meta. On iPadOS (and other systems too), double-tap the Shift button, and the next control you tap will show the key tooltip.
It looks like this:
Below are the default keyboard shortcuts for most of the UI components.
Some letter keys are written in uppercase for disambiguation. For example, REC is mapped to the letter L and is written in uppercase to clarify it is not letter i or number 1, so there is no need to press Shift here. Special characters are clarified by appending their name in parentheses, for example ; (semicolon).
Note
The default keyboard mapping is geared towards US keyboard layout, but it’s fully configurable. See Configuring the keyboard for instructions.
Basic operations
Operation |
Key(s) |
|---|---|
Up, Down, Left, Right |
Up/Down/Left/Right |
Data wheel plus |
+ (to the left of the Tab key) |
Data wheel minus |
- (to the left of the Tab key) |
Numeric keypad |
0 … 9 |
Shift |
Left shift |
Record |
L |
Overdub |
; (semicolon) |
Stop |
' (quote) |
Play |
Space |
Play start |
\ (backslash) |
F1 … F6 |
F1 … F6 |
Main screen |
Escape |
Open window |
I |
Hold one modifier – Shift, Ctrl, or Alt/Option – to turn the DATA wheel 10 steps. Hold two modifiers to turn it 100 steps, and hold three to turn it 1000 steps. In the TRIM, LOOP and ZONE screens, the number of steps per combination of modifiers is tailored to the sound length: the longer the sound, the bigger the number of steps.
Pads
g |
h |
j |
k |
b |
n |
m |
, |
a |
s |
d |
f |
z |
x |
c |
v |
Advanced operations
Operation |
Key |
|---|---|
Bank A |
Home |
Bank B |
End |
Bank C |
Insert |
Bank D |
Delete |
Previous step/event |
Q |
Next step/event |
W |
Locate/Go to |
E |
Previous bar/Start |
R |
Next bar/End |
T |
Tap tempo/Note repeat |
Y |
Erase |
F8 |
Full level |
O |
16 levels |
P |
Next seq |
[ |
Track mute |
] |
After/Assign |
F9 |
Undo seq |
F10 |
VMPC-specific operations
Operation |
Key |
|---|---|
Direct-to-disk recorder |
Shift + L |
Mouse & touchscreen
Pads
The pads can be hit by clicking them with the mouse, or, if you have a touchscreen, by touching them. The closer to the top of the pad, the higher the velocity. When a pad is hit, it gets an orange glow.
DATA wheel
The DATA wheel can be turned by dragging or scrolling.
On iPadOS you can drag the DATA wheel with one finger for precise, single-step changes, or with two fingers for large increments.
Slider/Rec gain/Main volume
These controls can be operated by dragging or scrolling.
Note that, like on the original MPC2000XL, you can use the slider to change many of the values in the TRIM, LOOP and ZONE screens, by holding SHIFT while moving the slider.
Note
If your mouse or touchpad emits momentum/inertia events, VMPC2000XL will process these accordingly. The DATA wheel, slider, record gain and main volume controls will come to a gradual stop. On Linux there’s virtually no case where applications automagically receive momentum/inertia events from the driver or OS. Maybe in the future, if there’s enough demand, VMPC2000XL will synthesize momentum itself (just like most browsers on Linux do).
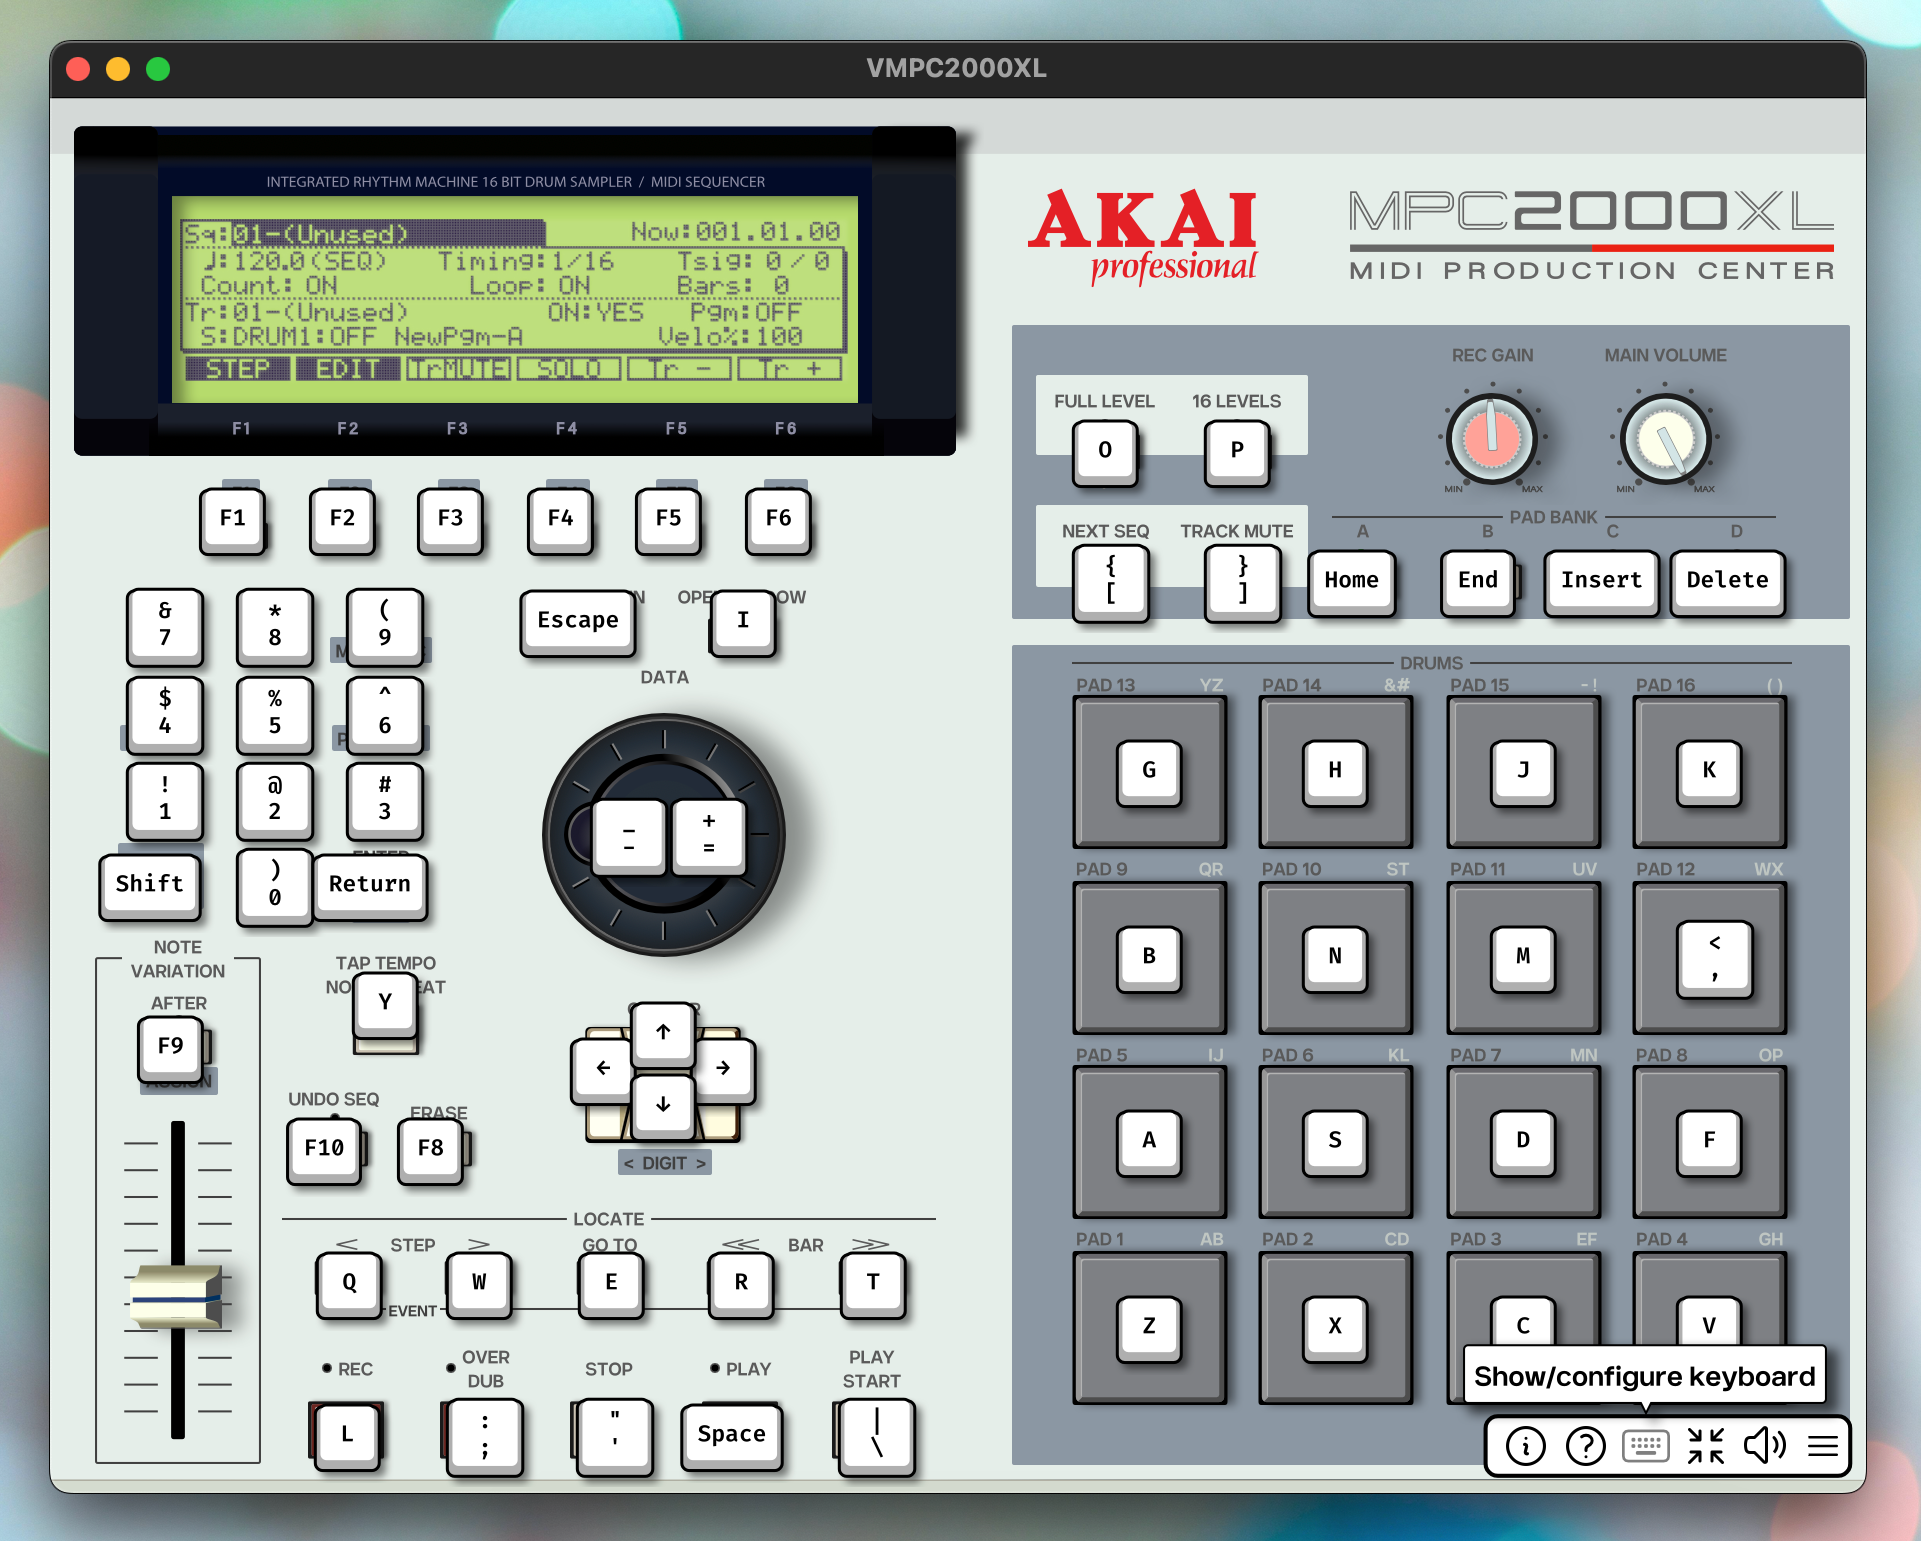
Show/configure keyboard
Click the “Show/configure keyboard” icon in the bottom-right menu to go to the KEYBRD tab. See Configuring the keyboard for instructions.

The “Show/configure keyboard” button
Hover over this button, or on iPadOS long-press it, to show an overlay with all current keyboard mappings:
MIDI
Just like the real MPC2000XL, VMPC2000XL can be controlled via the MIDI. The original MPC2000XL’s MIDI control capabilities are slightly limited in comparison to what most users would want for a software emulator. For that reason, VMPC2000XL offers extended MIDI controllability. Via this feature, all interactable hardware (buttons, slider, gain and volume knobs, DATA wheel and pads) can be controlled via note and control change events. Read more about extended MIDI control in the VMPC2000XL-specific MIDI control section.
For those interested in the authentic rather than the extended MIDI control capabilities, please refer to the “MIDI Footswitch Assignment” section on p. 185 of the original MPC2000XL manual. MIDI footswitch assignments, combined with MIDI note input that is routed to track note events, as well as program change events, together form the bulk of how one would control the real MPC2000XL via MIDI. The manual also contains a MIDI implementation chart (p. 195) where more details can be found. It’s quite possible that, in terms of original MIDI handling, you encounter missing or incomplete features in VMPC2000XL. The MIDI footswitch assignments that are configured in the MIDIsw screen are fully implemented, but if you encounter missing features that you’d like to see implemented, please submit a feature request.